Before you can set up a budget or forecast, you will need to add a data source to the organisation. There are several data sources available to connect directly, and if your accounting system isn't yet supported, you can also import from Microsoft Excel. Once this is done, the data source will be available in any budget or forecast you create.
When you first access the organisation, you'll be prompted to select your data source as part of the setup process. If you don't do so at this time, you can select a data source later from the bottom of the Task Manager tab. The new data source will then be available for any future budgets or forecasts you create, but will not be available for any you created before you added the data source.
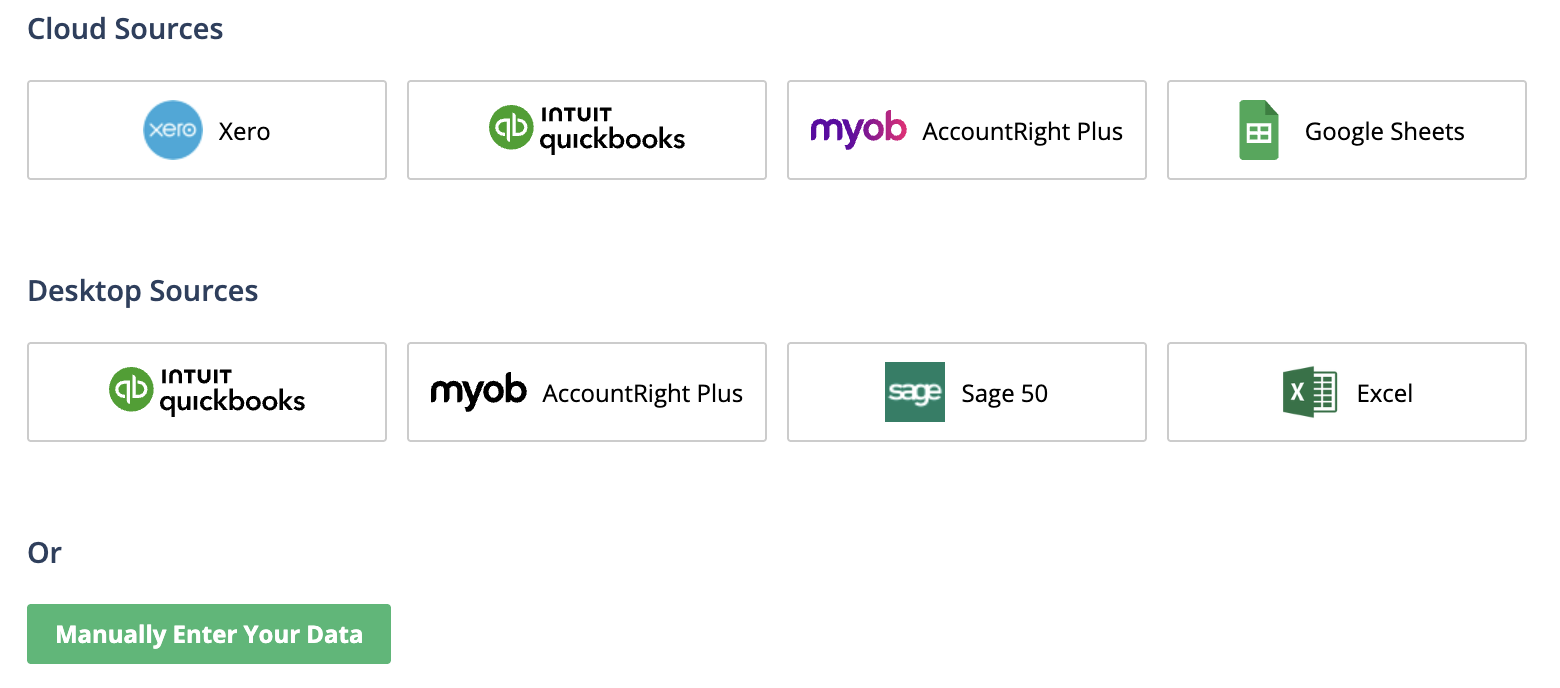
Connect a data source during setup or from Task Manager
Note: If you did not originally connect a data source during setup, to view these options open the Task Manager tab, scroll to the bottom of the window then click Connect a data source.
Import data from Xero
When you import data from Xero for the first time, you must set up the connection and authorise Spotlight to connect to your data. This is an easy process and normally only needs to be done once.
From the setup wizard or Task Manager tab, click Xero.
A message appears to prompt you to connect to Xero. Click Continue.
If required, enter your Xero login details then click Login.
Note: If you're already logged in to Xero, the login window may not appear and you can continue to the next step.
Choose the organisation you want to connect to, then click Allow access. Once the authorisation is complete, you are redirected back to Spotlight Forecasting and can now import your data.
Select the actual and budget dates you’d like to import data for and click Import.
Note: You can choose not to import either Actuals or Budget data by unchecking the respective checkboxes however this will limit your choice when you select which data to use for your budget or forecast.
If needed, you can remove your Xero data source at any time from the Task Manager tab by clicking Remove Account. This will delete all your imported actuals and budget values, and any forecasts or budgets you linked to this data can then no longer be updated.
Import data from QuickBooks Online
When you import data from QuickBooks Online for the first time, you must set up the connection and authorise Spotlight to connect to your data. This is an easy process and normally only needs to be done once. In the following months, you can simply import the updated data.
From the setup wizard or Task Manager tab, click QuickBooks.
Click the Connect to QuickBooks button. You're then redirected to QuickBooks.
Enter your QuickBooks Online account details and click Sign In.
Note: If you're already logged in to QuickBooks Online, the login window may not appear and you can continue to the next step.
Choose the organisation you want to connect to, then click Authorise. Once the authorisation is complete, you are redirected back to Spotlight Forecasting and can now import your data..
Note: If you're a Pro Advisor firm, and your own firm's organisation doesn't appear, please click the Add app to firm link shown below the drop-down list.
Select the actual and budget dates you’d like to import data for and click Import.
Note: You can choose not to import either Actuals or Budget data by unchecking the respective check boxes, however this will limit your choice when you select which data to use for your budget or forecast.
If needed, you can remove your QuickBooks data source at any time by clicking Remove Account. This will delete all your imported actuals and budget values, and any forecasts or budgets you linked to this data can then no longer be updated.
Import data from MYOB AccountRight Plus
The first time you import from MYOB, you need to authorise Spotlight to connect to your data.
From the setup wizard or Task Manager tab, click the MYOB AccountRight option.
A message appears to prompt you to connect to MYOB AccountRight Live. Click Continue.
Enter your MYOB login details, then click Sign in. You will need either administrator or bookkeeper user roles and have access to reports in all areas.
Once the authorisation is complete, you are redirected back to Spotlight. From the Company File drop-down list, select the organisation you want to import, then click Open File.
Note: If User ID and Password boxes appear, the login you entered into MYOB originally does not have the required access to import from this company. Select a different company or enter the required login information.
Select the actual and budget dates you’d like to import data for and click Import.
Note: You can choose not to import either Actuals or Budget data by unchecking the respective checkboxes however this will limit your choice when you select which data to use for your budget or forecast.
If needed, you can remove your MYOB data source at any time by clicking Remove Account. This will delete all your imported actuals and budget values, and any forecasts or budgets you linked to this data can then no longer be updated.
Import from Google Sheets
From the setup wizard or Task Manager tab, cick the Google Sheets data source.
A message appears to confirm that you'll be redirected to Google. To proceed, click Continue.
If required, sign in to your Google account, then when prompted to give access, click Allow.
This creates a new Google Sheets document in the required format for importing data to Spotlight Forecasting. Spotlight Forecasting will not be able to access any additional documents in your Google account.
You’re then redirected back to Spotlight Forecasting.
Click Edit in Google Sheets. You can then complete this with the Actuals, Budget, and Cash data.
Once this is complete, return to Spotlight Forecasting, select the actuals/budget data date ranges and click import.
Import data from QuickBooks Desktop
Note: If you haven't yet installed the Desktop Connector, for information about how to install this and add your files please refer to this article. Please note that you only need to install the Desktop Connector if you will not be connecting to files already set up in the Desktop Connector on another computer.
From the setup wizard or Task Manager tab, click the QuickBooks Desktop data source.
Enter the Desktop Connector ID, then click Submit.
If this is the first time this organisation has been imported, open the Desktop Connector and in the Connections tab, click the Accept button alongside the name of the Spotlight user, to approve the connection.
If another user set up the Desktop Connector, or if you're accessing the organisation remotely, please request that the person who set up the Desktop Connector authorise this connection as above.
Once the authorisation is complete, you are redirected back to Spotlight Forecasting and can now import your data.
Select the actual and budget dates you’d like to import data for and click Import.
Note: You can choose not to import either Actuals or Budget data by unchecking the respective checkboxes however this will limit your choice when you select which data to use for your budget or forecast.
If needed, you can remove your QuickBooks data source at any time by clicking Remove Account. This will delete all your imported actuals and budget values, and any forecasts or budgets you linked to this data can then no longer be updated.
Import data from MYOB AccountRight Plus Desktop
Note: If you haven't yet installed the Desktop Connector, for information about how to install this and add your files please refer to this article. Please note that you only need to install the Desktop Connector if you will not be connecting to files already set up in the Desktop Connector on another computer.
From the setup wizard or Task Manager tab, click the MYOB AccountRight Plus Desktop data source.
Enter the Desktop Connector ID, then click Submit.
If this is the first time this organisation has been imported, open the Desktop Connector and in the Connections tab, click the Accept button alongside the name of the Spotlight user, to approve the connection.
If another user set up the Desktop Connector, or if you're accessing the organisation remotely, please request that the person who set up the Desktop Connector authorise this connection as above.
Once the authorisation is complete, you are redirected back to Spotlight Forecasting and can now import your data.
Select the actual and budget dates you’d like to import data for and click Import.
Note: You can choose not to import either Actuals or Budget data by unchecking the respective checkboxes however this will limit your choice when you select which data to use for your budget or forecast.
If needed, you can remove your MYOB data source at any time by clicking Remove Account. This will delete all your imported actuals and budget values, and any forecasts or budgets you linked to this data can then no longer be updated.
Import data from Sage 50 Accounts
Note: If you haven't yet installed the Desktop Connector, for information about how to install this and add your files please refer to this article. Please note that you only need to install the Desktop Connector if you will not be connecting to files already set up in the Desktop Connector on another computer.
From the setup wizard or Task Manager tab, click the Sage 50 Desktop data source.
Enter the Desktop Connector ID, then click Submit.
If this is the first time this organisation has been imported, open the Desktop Connector and in the Connections tab, click the Accept button alongside the name of the Spotlight user, to approve the connection.
If another user set up the Desktop Connector, or if you're accessing the organisation remotely, please request that the person who set up the Desktop Connector authorise this connection as above.
Once the authorisation is complete, you are redirected back to Spotlight Forecasting and can now import your data.
Select the actual and budget dates you’d like to import data for and click Import.
Note: You can choose not to import either Actuals or Budget data by unchecking the respective checkboxes however this will limit your choice when you select which data to use for your budget or forecast.
If needed, you can remove your Sage data source at any time by clicking Remove Account. This will delete all your imported actuals and budget values, and any forecasts or budgets you linked to this data can then no longer be updated.
Import data from MS Excel
If the accounting system you use isn't listed, you can still bring the data in via Microsoft Excel.
From the setup wizard or Task Manager tab, click the Excel data source.