When you create a report to analyse your clients’ data, you may want to focus in on specific actions they need to take in future, or monitor progress against previously agreed actions. To do this, you can use the Action Plan page. With this page type you can focus on up to six agreed actions, set due dates and assign actions to specific people in the business.
As well as adding actions within the Action Plan page itself, you can also add actions directly from the Executive Summary page.
Note: This option adds a new Action Plan page. It does not add actions to an existing action plan.
From the Customise Layout tab, click to customise the Executive Summary page.
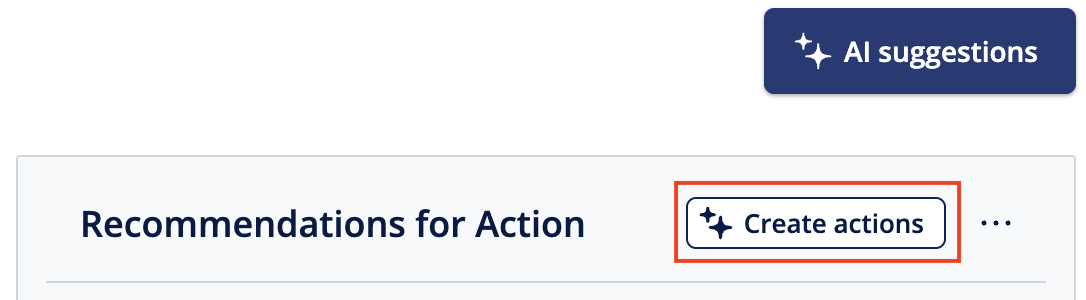
Enter your recommendations, or add these using the AI Suggestions option.
Click Create actions.
Once the action plan page(s) have been created, a message appears to confirm. Click the link to access the Action Plan page.
You can then edit and work with the page as normal.
Remove an action
Note: Once you remove an action, you cannot undo this. We recommend that you save a PDF copy of your report before you remove an action.
From the Customise Layout tab, hover the mouse over the Action Plan page, then click Customise.
Hover the mouse over the action you want to remove, then click the red X.
Edit an action
You can amend any area of each individual action section.
From the Customise Layout tab, hover the mouse over the Action Plan page, then click Customise.
Hover the mouse over the action you want to edit, then click Edit.
Make the required changes, then click Save. The following options are available:
Type - This is the main heading for the action. Choose a default type from the drop-down list, or to enter your own title, choose Other and then enter the title you want to use.
Assignee - The person or team responsible for this action. Enter the required name directly into the box.
Due date - The date by which the action must be completed. By default, this is the month after the current report date. To change this, click the date and select the required date from the calendar.
Action details - This is a free text box for you to enter a description of the action required. Enter the text you want directly into the box. If required, you can amend the font and list options from the toolbar.Note: You can use up to 250 characters.
Progress bar - You can use this bar to mark the progress toward completion of the action. Simply drag the bar to the appropriate percentage. If required, you can also change the colour of the bar. To do this, click the colour wheel and select the colour you want to use.