
Using the Spotlight Desktop Connector, you can import from QuickBooks Desktop, MYOB AccountRight Desktop, and Sage 50 Accounts / Sage 50cloud Accounts desktop data, even if you're working on a different computer to where the accounting software and data is installed.
The process to use the new Desktop Connector is different to the one you may have used previously, so we recommend that you review this article before you begin.
Note: To be able to use the Spotlight Desktop Connector, you must be using Windows 8 or above, or Windows Server 2012 or above. This is because the connectivity features required by the Desktop Connector are only available within these versions.
Note: To connect to files already authorised from another device, please refer to this section.

Before you can import into Spotlight, you will need to add the data files to the Desktop Connector. As part of this process, you will also need to authorise the connection to the data.
The company file is now added and appears on the list. You can now connect to this data from within Spotlight.
The company file is now added and appears on the list. You can now connect to this data from within Spotlight.
The company file is now added and appears on the list. You can now connect to this data from within Spotlight.
To connect to the authorised data files within the Desktop Connector, you will need the Desktop Connector ID.
Note: If you don't have access to this, please request the ID from the person who set up the Desktop Connector.
Note: To connect to the data, you will need the Desktop Connector ID. This can be obtained from within the Spotlight Desktop Connector. If you don't have access to this, please request the ID from the person who set up the Desktop Connector.

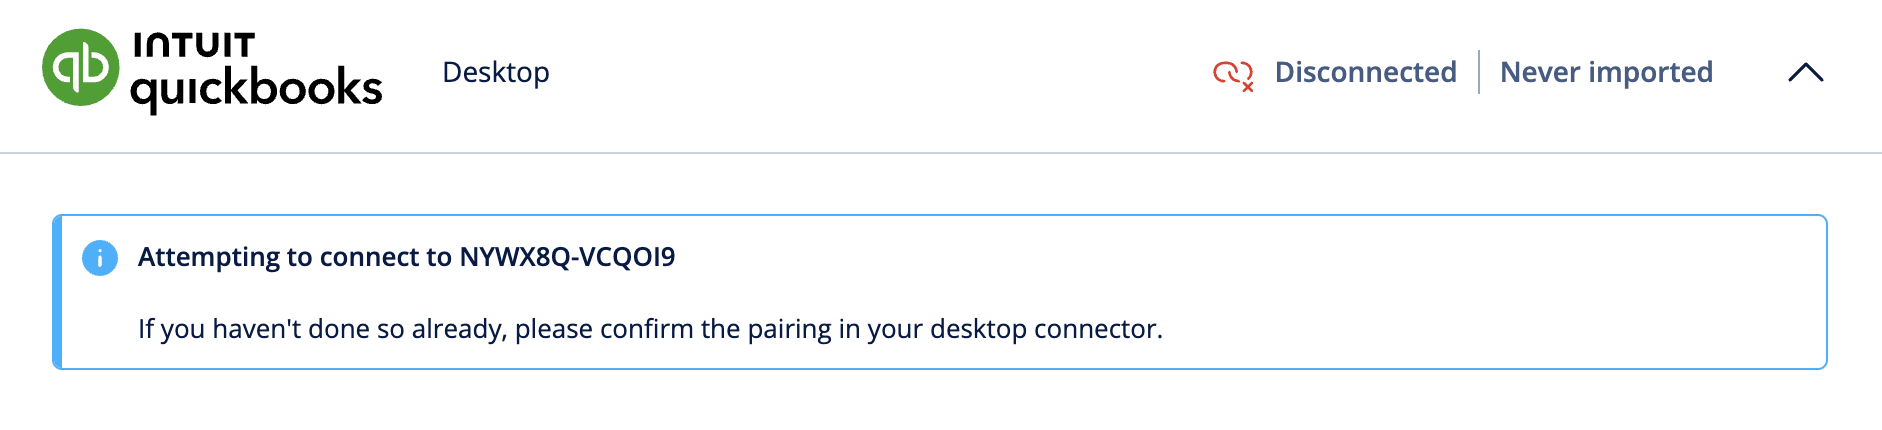
Note: If you don't have access to the Desktop Connector, or if you are connecting remotely, please request that the person who installed the Desktop Connector approve the connection.
Once the connection is approved, the import options appear and you can now proceed to import your data into Spotlight.
If you've previously connected a data file, but now need to remove it from the Desktop Connector, you can do this from the Files tab.
You can view the users who have previously been authorised to connect to the files in the Desktop Connector, and remove any unwanted connections.
You can obtain this from within the Desktop Connector.
To access this, in the Windows system tray click the Desktop Connector icon.
The ID appears at the bottom right-hand corner of the Desktop Connector window. To copy the ID, click the copy button alongside it.
Yes, you will need to enter the ID each time. However, if the original connection was authorised as a 'permanent' connection, this will not need to be authorised in the Desktop Connector each time.
This can occur if the authorisation request has timed out. Please cancel the request from within Spotlight, then connect again. Your connection should then appear to be authorised.
No, if the data files you want to import have already been added to the Desktop Connector by someone else, you can connect to this using the Desktop Connector ID without the need to install it yourself. However, the connection must be authorised within the existing Desktop Connector installation.
Yes - if the data has already been added to the Spotlight Desktop Connector, you can access and import this. To do this, please request the Desktop Connector ID from the person who installed the Desktop Connector, then follow the process to connect to the data file.
Yes - if the data has already been added to the Spotlight Desktop Connector, you can import this even if you aren't working on a Windows PC. To do this, please request the Desktop Connector ID from the person who installed the Desktop Connector, then follow the process to connect to the data file.
